3D photo operation guide
Step1:Upload the image you want to print and print out all the components.
Step2:Take an LED board from the accessory pack and assemble it with the back cover. Insert the LED board into the designated position, ensuring it fits securely between the upper latch and the two lower supports, with the power and switch ports precisely aligned.
Step3:Follow the diagram to assemble the back cover, photo (with the pattern facing outward), and front cover in sequence.
Step4:Plug in the power cable and turn on the switch to light it up.
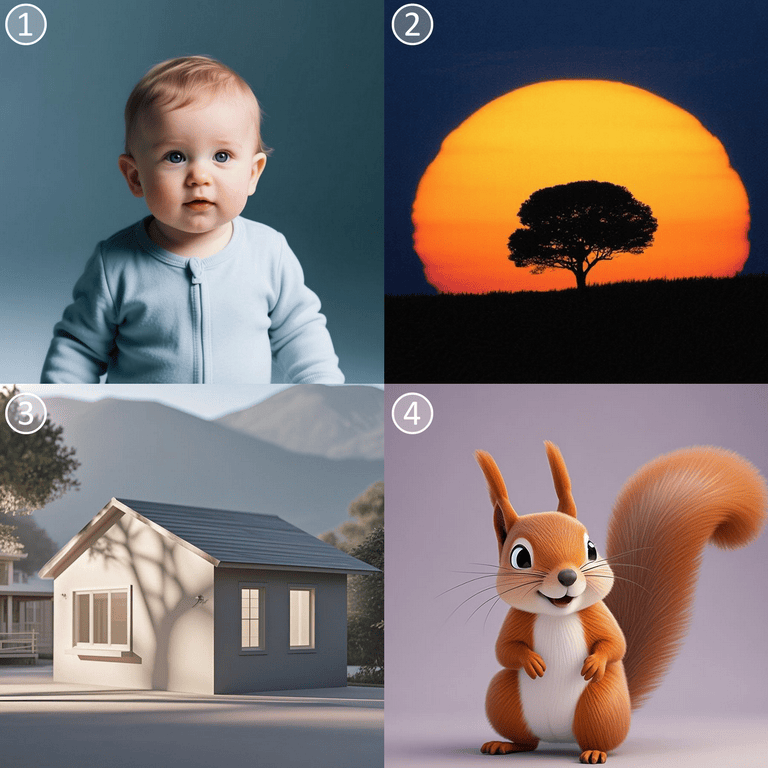
✅ Recommended (Suitable) Photos:
1. Portraits
• Clean background, subject is enlarged
• Clear lighting with highlights and shadows
2. Silhouettes / Black and White Photos
• Strong black-and-white contrast
3. Architecture / Animal Close-ups
• With dramatic lighting and blurred backgrounds
4. Comics / Cartoons / Illustrations
• Clean lines and gradient shading, not just flat color blocks
❌ Not Recommended (Unsuitable) Photos:1. Cartoon-style flat color block images
• May get flattened into the same brightness level, losing all depth.
2. Colorful landscapes with flat lighting
• Without highlights and shadows, the image appears blurry and lacks clarity.
3. Low-resolution group photos
• Poor detail in printing, resulting in a messy and unclear output.
4. Complex backgrounds
• The background blends with the subject, making it hard to distinguish after 3D printing.
Related Articles
Snowman Operation Guide
Snowman Operation Guide Overview The Snowman Builder allows you to freely combine different appearance modules to quickly generate a printable 3D model, making it easy to create your own unique snowman. 1. Feature Overview A snowman consists of five ...Cookie cutter operation guide
1. Template Types in the App ① Border with Inner Pattern No drawing needed—the app provides both the outer border and internal pattern. This template is mainly for demonstration purposes, helping users understand how the design translates into a ...QR Code Operation Guide
1. Page Overview ①Enter QR Code Content In the input box, you can enter any of the following types of content: · Wi-Fi credentials: SSID (network name) and password · Website URLs: Direct users to a specific page (note: some phones may not auto-open ...Herb label operation guide
1. Page Overview ① Five Basic Templates Five different tag shapes are available for selection. You can freely choose the one that suits your needs. ② Add Text Enter your desired text, and the system will automatically generate a corresponding design. ...Stamp operation guide
Assembling Help Step1:Remove all model parts Carefully remove the body padding to avoid damaging the internal spring. Step2:Insert the stampSecurely place the stamp into the body, ensuring it fits snugly into position. Step3:Attach the handle Insert ...